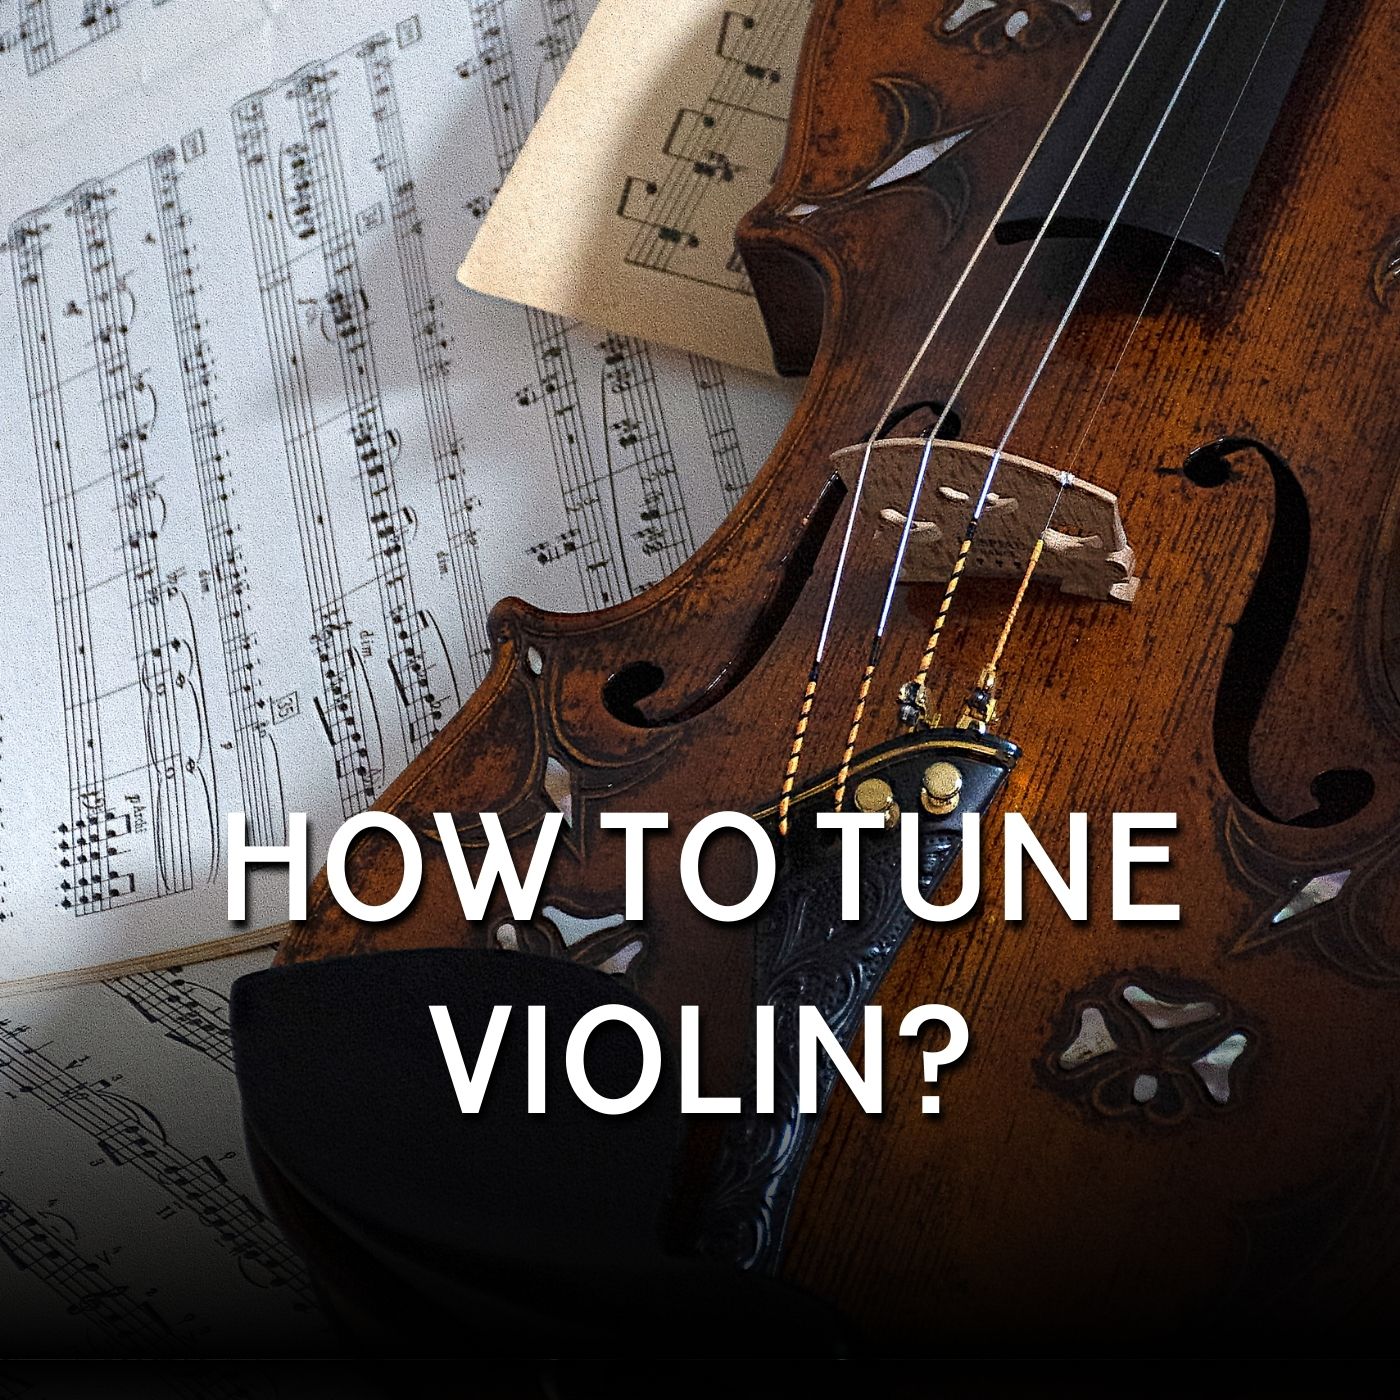
A Comprehensive Guide:
Today almost all the violins use the standard tuning method in which A is tuned to 440Hz. By proper tuning, you can succeed in getting your instrument to produce its best sound and also help you in developing a good pitch ear. This tutorial will walk you through the process step by step of How to Tune a Violin In 5-Steps, including the types of tools that you will need, how to go about doing it, and some tips on how to keep your instrument in tune.
Table of Contents
Understanding the Basics:
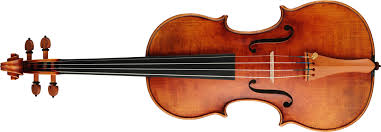
The four strings on the violin are tuned in fifths. That is, the lowest note (an open G) corresponds with that of the lowest string, and the next notes played up are D, A and E. Their corresponding names on the piano would be: G3, D4, A4 and E5. To tune, turn each peg so that when you play each string open (i.e., no fingers pressed on the fingerboard) it sounds perfectly in tune.
Tools for Tuning:
Before you start tuning, gather the necessary tools: You will need an Electronic Tuner to help you in finding the right pitch.
Tuning Fork: Produces a single pitch (generally A440, the typical tuning for the A string).
Pitch Pipe: A little tool that plays the tones of each string for you.
Piano or Keyboard: Provides reference pitches for tuning.
Fine Tuners: Small screws that are located at the tailpiece where you can make precise adjustments.
Pegs: These are wooden (or synthetic) parts located at the scroll of the violin that are turned to make larger adjustments.
Step-by-Step Tuning Process:
Step 1: Pre-Tuning Checks
Examining the Violin: Check that the strings are in order and do not rip or fray. Inspect if the bridge is straight up and not leaning.
Check Pegs and Fine Tuners: First of all, you need to make sure the pegs turn smoothly and the fine tuners are not screwed too tightly or too loosely.
Step 2: Tuning the A String
Reference Pitch: You can use an electronic tuner, tuning fork or piano to get A string pitch (A4, 440 Hz).
Pluck or Bow: Gently pluck the A string or draw the bow across it.
Adjust Screws: If the tuning is off significantly and you have quite a bit of work to do, start with adjusting your screws to get it closer. To raise the pitch, turn the screw driver to the left or away from you and reverse this direction (right or towards you) to lower the pitch. You may need to give your screwdriver an extra gentle push inwards as you finish.
Fine Tuners: For small adjustments use the fine tuner. Right (clockwise) is tighter, Left (counter clockwise) is looser and lowers the pitch.
Check with Tuner: Keep checking the pitch with your tuner or reference note until it matches perfectly.
Step 3: Tuning the D String:
Reference Pitch: Use your tuner or a piano to obtain the pitch for the D string (D4).
Tune Relative to A: After you have a rough tune on the pegs, play both the D and A strings at once. Listen for the perfect fifth interval (a clean sound with no oscillation or change in tone).
Adjust: Use the peg and fine tuner to get the D string as close to your desired tuning as possible. Check your tuning by referring to both the electronic tuner and plucking the A string.
Step 4: Tuning the G String:
Reference Pitch: Determine the pitch of the G string with your tuner or a piano. (G3)
Fine tune the harmonic against the open A string: play an A natural harmonic , then on the D string, play a G natural harmonic by just touching the D string where you would play a G note with your fourth finger.You may need to lower the pitch of the harmonic very slightly. If necessary, after making any further adjustments to D fine tuning as described above, repeat this process for G fine tuning.
Adjust: Turn the tuning peg and use the fine tuner until the pitch is correct.
Step 5: Tuning the E String:
Reference Pitch: Find the E string pitch (E5).Reference Pitch: Find the E string pitch (E5).
A: Tune relative to E: This is the first string you’ll be tuning and can be done using the tuning peg on the body of your violin. Play an “open E” by bowing the string without any fingers down on the fingerboard and listen to a reference E (you can find this note online or use a piano, etc.). Adjust the tuning peg until your open E sounds exactly like the reference note.
Tune relative to A: Bow both the E and A strings together and listen for the perfect fifth interval.
Tune: Use the peg and fine tuner to get to the right pitch.
Alternative Tuning Methods
Harmonics Tuning:
Harmonics are the natural overtones you can get by just touching the string at some points, useful to make fine tunings.
A Harmonic: Lightly touch string A directly in the middle of the length of the string. (This will cause a high A note to sound).
Harmonics: Play the harmonic on the A string and touch lightly the middle between the D string (giving a high D note), both have to sound equal.
Double Stops Tuning:
Playing two strings at once (double stops) also helps with intonation because you’re reinforcing the perfect fifth interval between the strings.
Bow Two Strings: Play the A and D strings at the same time. It should sound clean and nice.
Adjust: Use the pegs at the top of the violin to get the strings close. Then make very small adjustments with the fine tuners until the sound is perfect.
Tips for Maintaining Tuning Stability
Peg Compound: Use peg compound (peg dope) on the pegs so they turn easily and don’t move.
Humidity Control: Give your violin a case that has a humidity control system to avoid it getting affected by expansion or contraction of wood.
String Stretching: New strings stretch, and sometimes they stretch quickly. Gently pull (don’t yank or you might snap a string) on new strings after you put them on to help them settle in faster.
Regular Tuning: You should tune your violin before every practice and performance so that it maintains its pitch.
Common Tuning Challenges and Solutions
Slipping Pegs
Solution: When you tighten it, push the peg INWARD. If it still slips, put a tiny bit of peg compound on.
Sticking Pegs
Solution: If you find that the peg is hard to turn, just use a little bit of peg compound to lubricate it. Do not apply too much of it since it can make the peg way too slippery.
Fine Tuners Maxed Out
If a fine tuner is turned all the way in or out, reset it to the midway position and use the peg to get it close. Then the fine tuner can be used.”
Breaking Strings
Solution: Make sure not to tune the string too high. Use an electronic tuner so you don’t overtighten. If a string continually breaks, it may be because of a sharp edge on the peg or nut; have a luthier check your instrument.
Advanced Tuning Techniques
Tuning in Different Temperaments
Although equal temperament is ubiquitous, it should be noted that some high-level players may still temper their violins in other ways for different musical styles.
Just Intonation: Often used in Baroque music, where intervals are adjusted to be pure.
Pythagorean Tuning: Based on pure fifths, sometimes used in medieval and Renaissance music.
Tuning for Ensemble Playing
When you are going to play with other instruments you need to match the ensemble pitch and it could be different from A440, so always tune at the pitch reference that the ensemble gives to you.
Conclusion
Tuning your violin is a necessary skill. It ensures that you play the best music, and also, make the best out of it. Once you learn how to tune a violin, gather what you need to tune and repeat the tuning process frequently- you will eventually get there. Whether a beginner or an expert in playing violin, one has to consistently practice pulling her/his violin in shape so that it does not only produce beautiful sound but also keep your ear in track. Eventually you will realize that tuning a violin is easy and pretty simple with a little focus before you put on playing music!